- Home
- How to fit a splashback with drill holes and screws
How to fit a cooker splashback with drill holes and screws
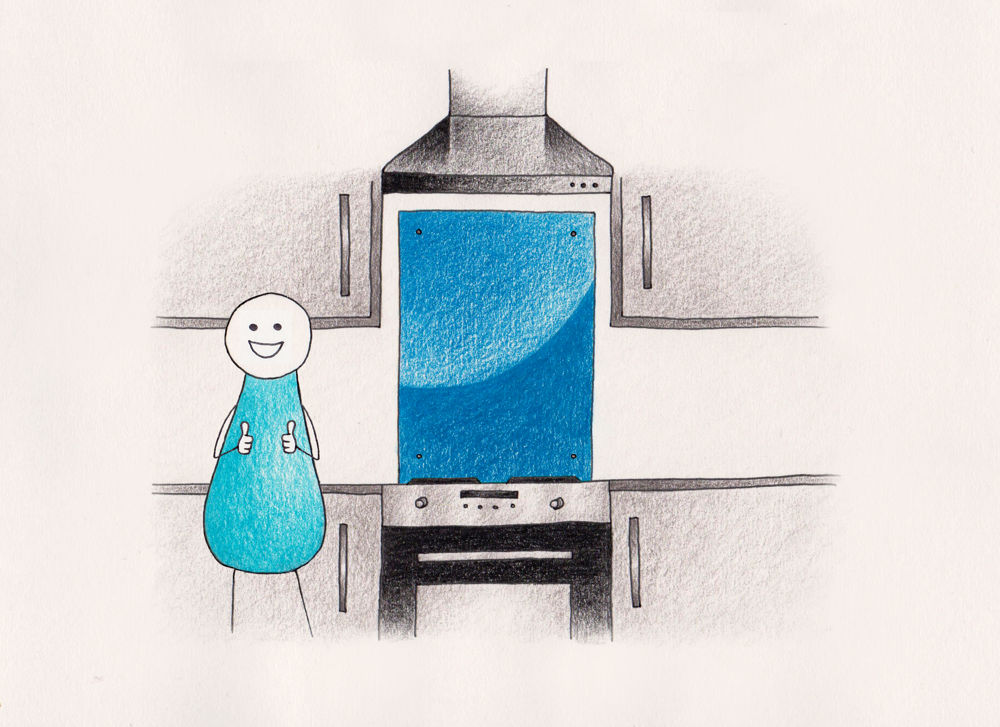
Measuring and installing a Cooker Splashback may seem like a daunting task but it is very easy for you to do it yourself.
In this tutorial we break down the 'fittiing with drill holes and screws' process into simple steps to ensure you install your DIY Splashback correctly.
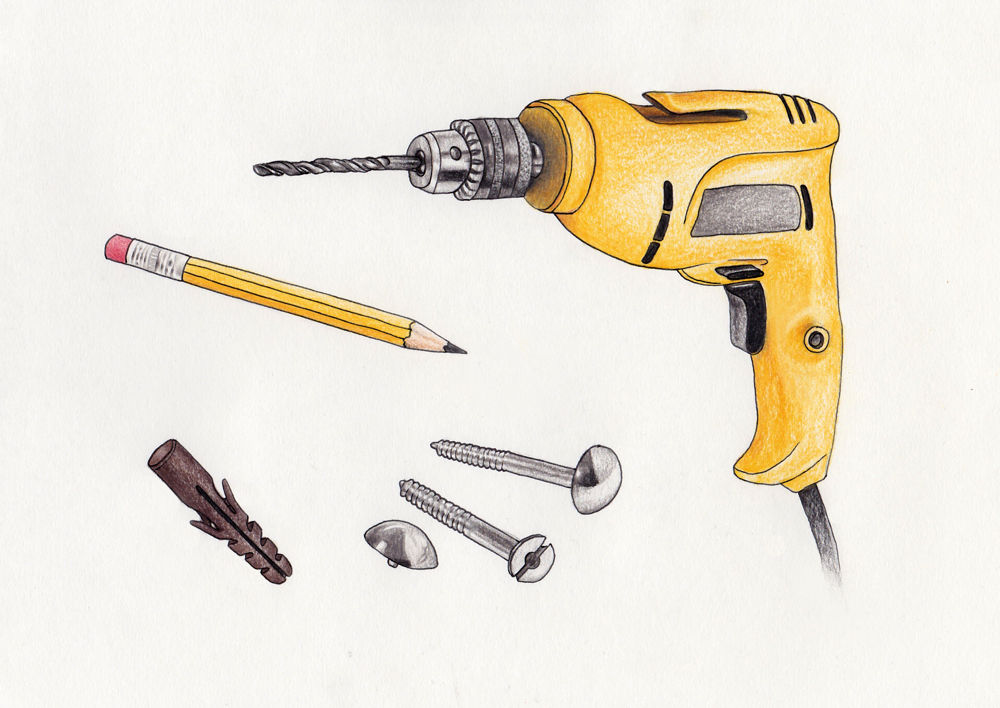
Step 1 - What you need
You will need a drill, an 8mm masonry drill bit, a pencil, 6mm rawl plugs and mirror screws as supplied. The wall does not need to be perfectly smooth, however, any obvious bumps or sharp edges need to be removed prior to installation.
Step 2 - Mark the drill hole locations
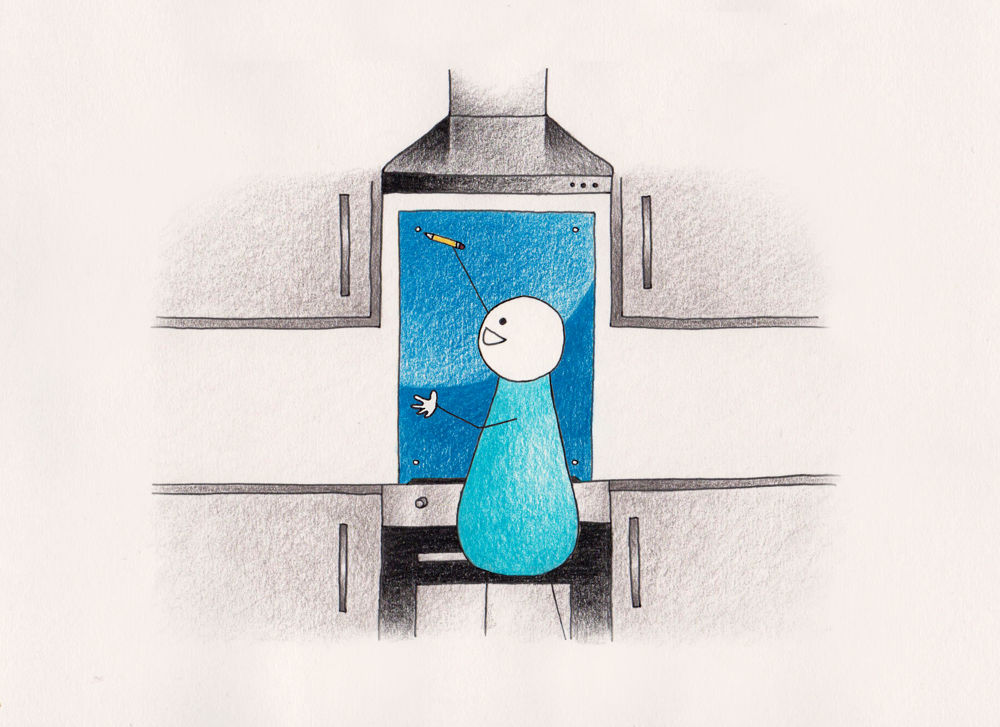
Hold the glass splashback in place, mark the drill hole locations with a pencil. Please check there are no water pipes or electrical cables in the wall before drilling. Remove the splashback from the wall and set safely aside.
Step 3 - Drill the holes
Using the 8mm masonry bit, drill through the marks and insert the rawl plugs accordingly. There will be a little dust that is best cleaned up at this stage.
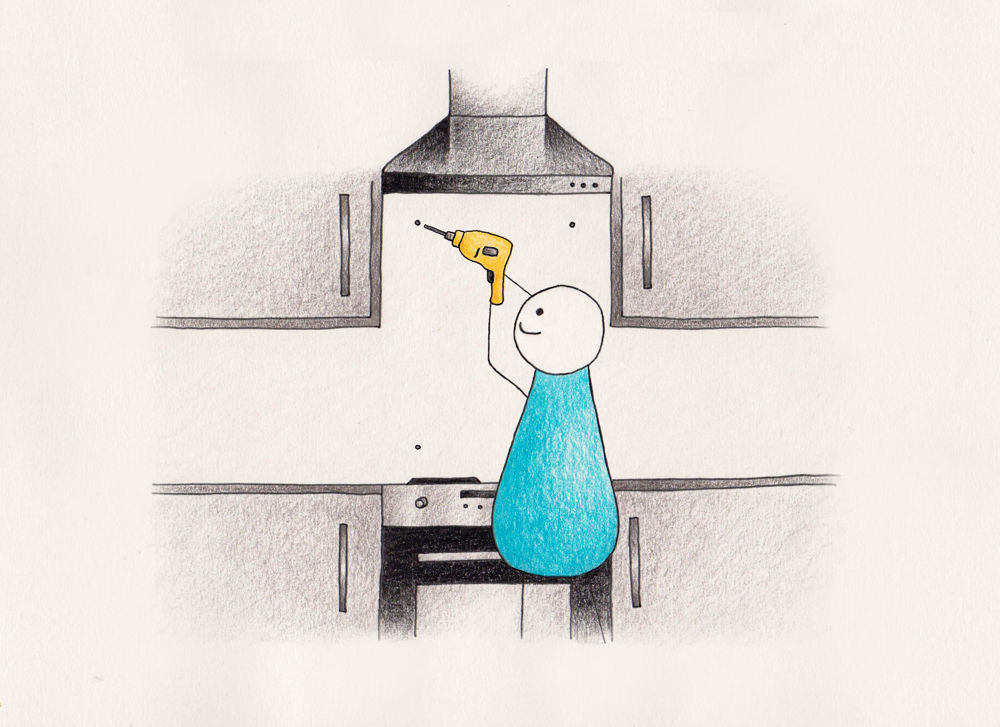
Step 4 - Fix glass to the wall
Hold the glass in place and loosely fit with the mirror screws provided. Tighten the screws until the glass is firmly against the wall and fix with the corresponding caps for a tidy finish.
