- Home
- How to fit a splashback with adhesive
How to fit a cooker splashback with adhesive

Measuring and installing a Cooker Splashback may seem like a daunting task but it is very easy for you to do it yourself.
In this tutorial we break down the 'fittiing with adhesive' process into simple steps to ensure you install your DIY Splashback correctly.
Step 1 - What you need
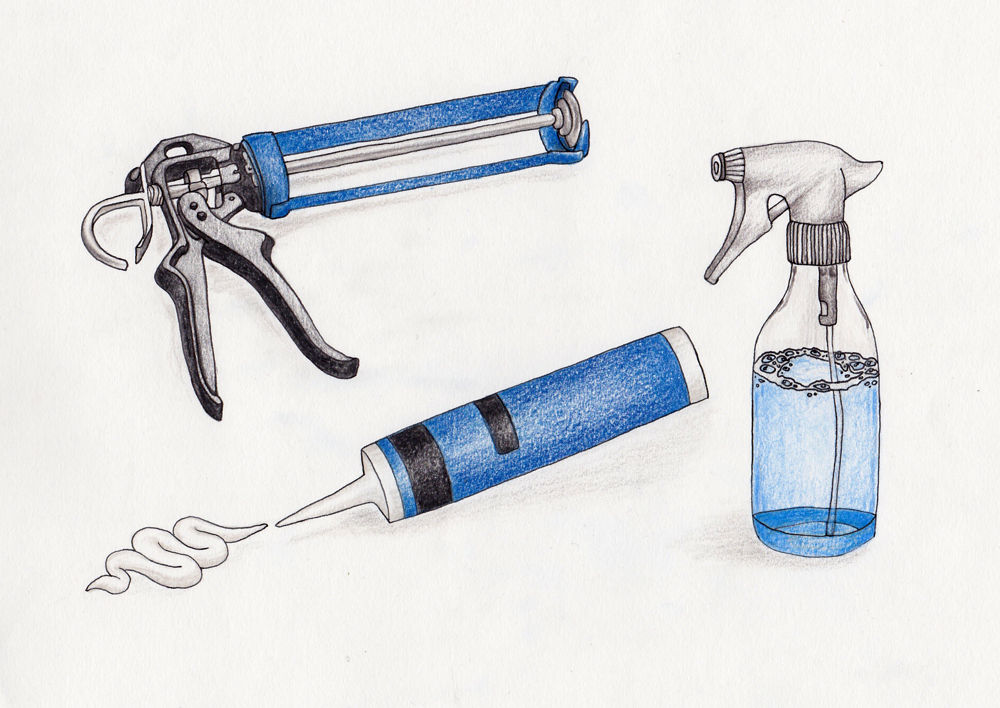
You will need a silicone gun, a tube of neutral clear silicone adhesive, a towel/blanket and a spray bottle of warm soapy water. The wall does not need to be perfectly smooth, however, any obvious bumps or sharp edges need to be removed prior to installation.

Step 2 - Apply the adhesive
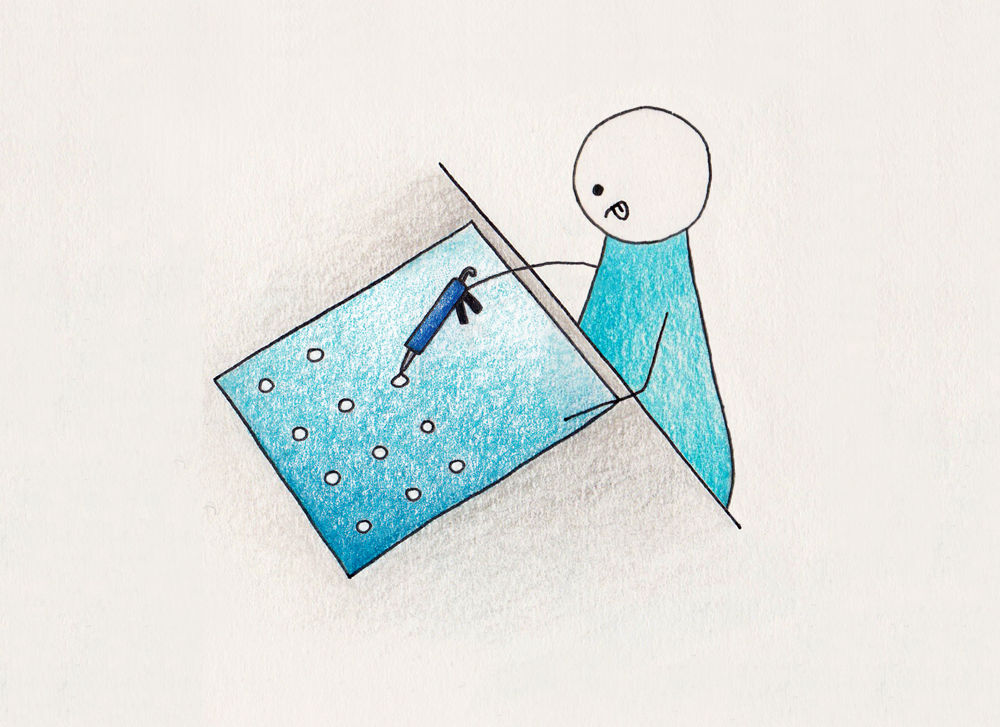
Lay the glass gloss side down on top of your towel/blanket. On the matt side, apply equally sized blobs, approximately the size of a 20 pence, about 10cm apart. Be careful not to put any blobs too close to the edge.

Step 3 - Press the glass against the wall
Simply press the glass against the wall applying equal pressure across the entire surface of the glass. If there are any areas that feel 'bouncy' when pressed then remove and apply more silicone in that area.
If the glass is not resting on a worktop, or is not supported from beneath, then you will need to arrange a prop to stop it sliding down the wall.

Step 4 - Seal the edges
Once in place run a bead of silicone around the perimeter of the glass. Spray the silicone with warm soapy water and remove the excess with your finger for an even seal.

